Shadowsocks is a secure socks5 proxy which is designed to protect your internet traffic.(from shadowsocks.org)
To ours to set up your own shadowsocks server, only needs 24 RMB anually and a few minutes. This will really helps you when you want to log on your facebook.com or searching some important contents on the server which is not located inside.
Step1 Setup your server
Shadowsocks must have a server outside to retransmit your requests and responses. The server needs not to be very powerful. Luckily, there is a website to provide such services online BandwagonHOST. This website provides many server services from expensive to cheap. And the service which only cost your 24 RMB/year is very secret.

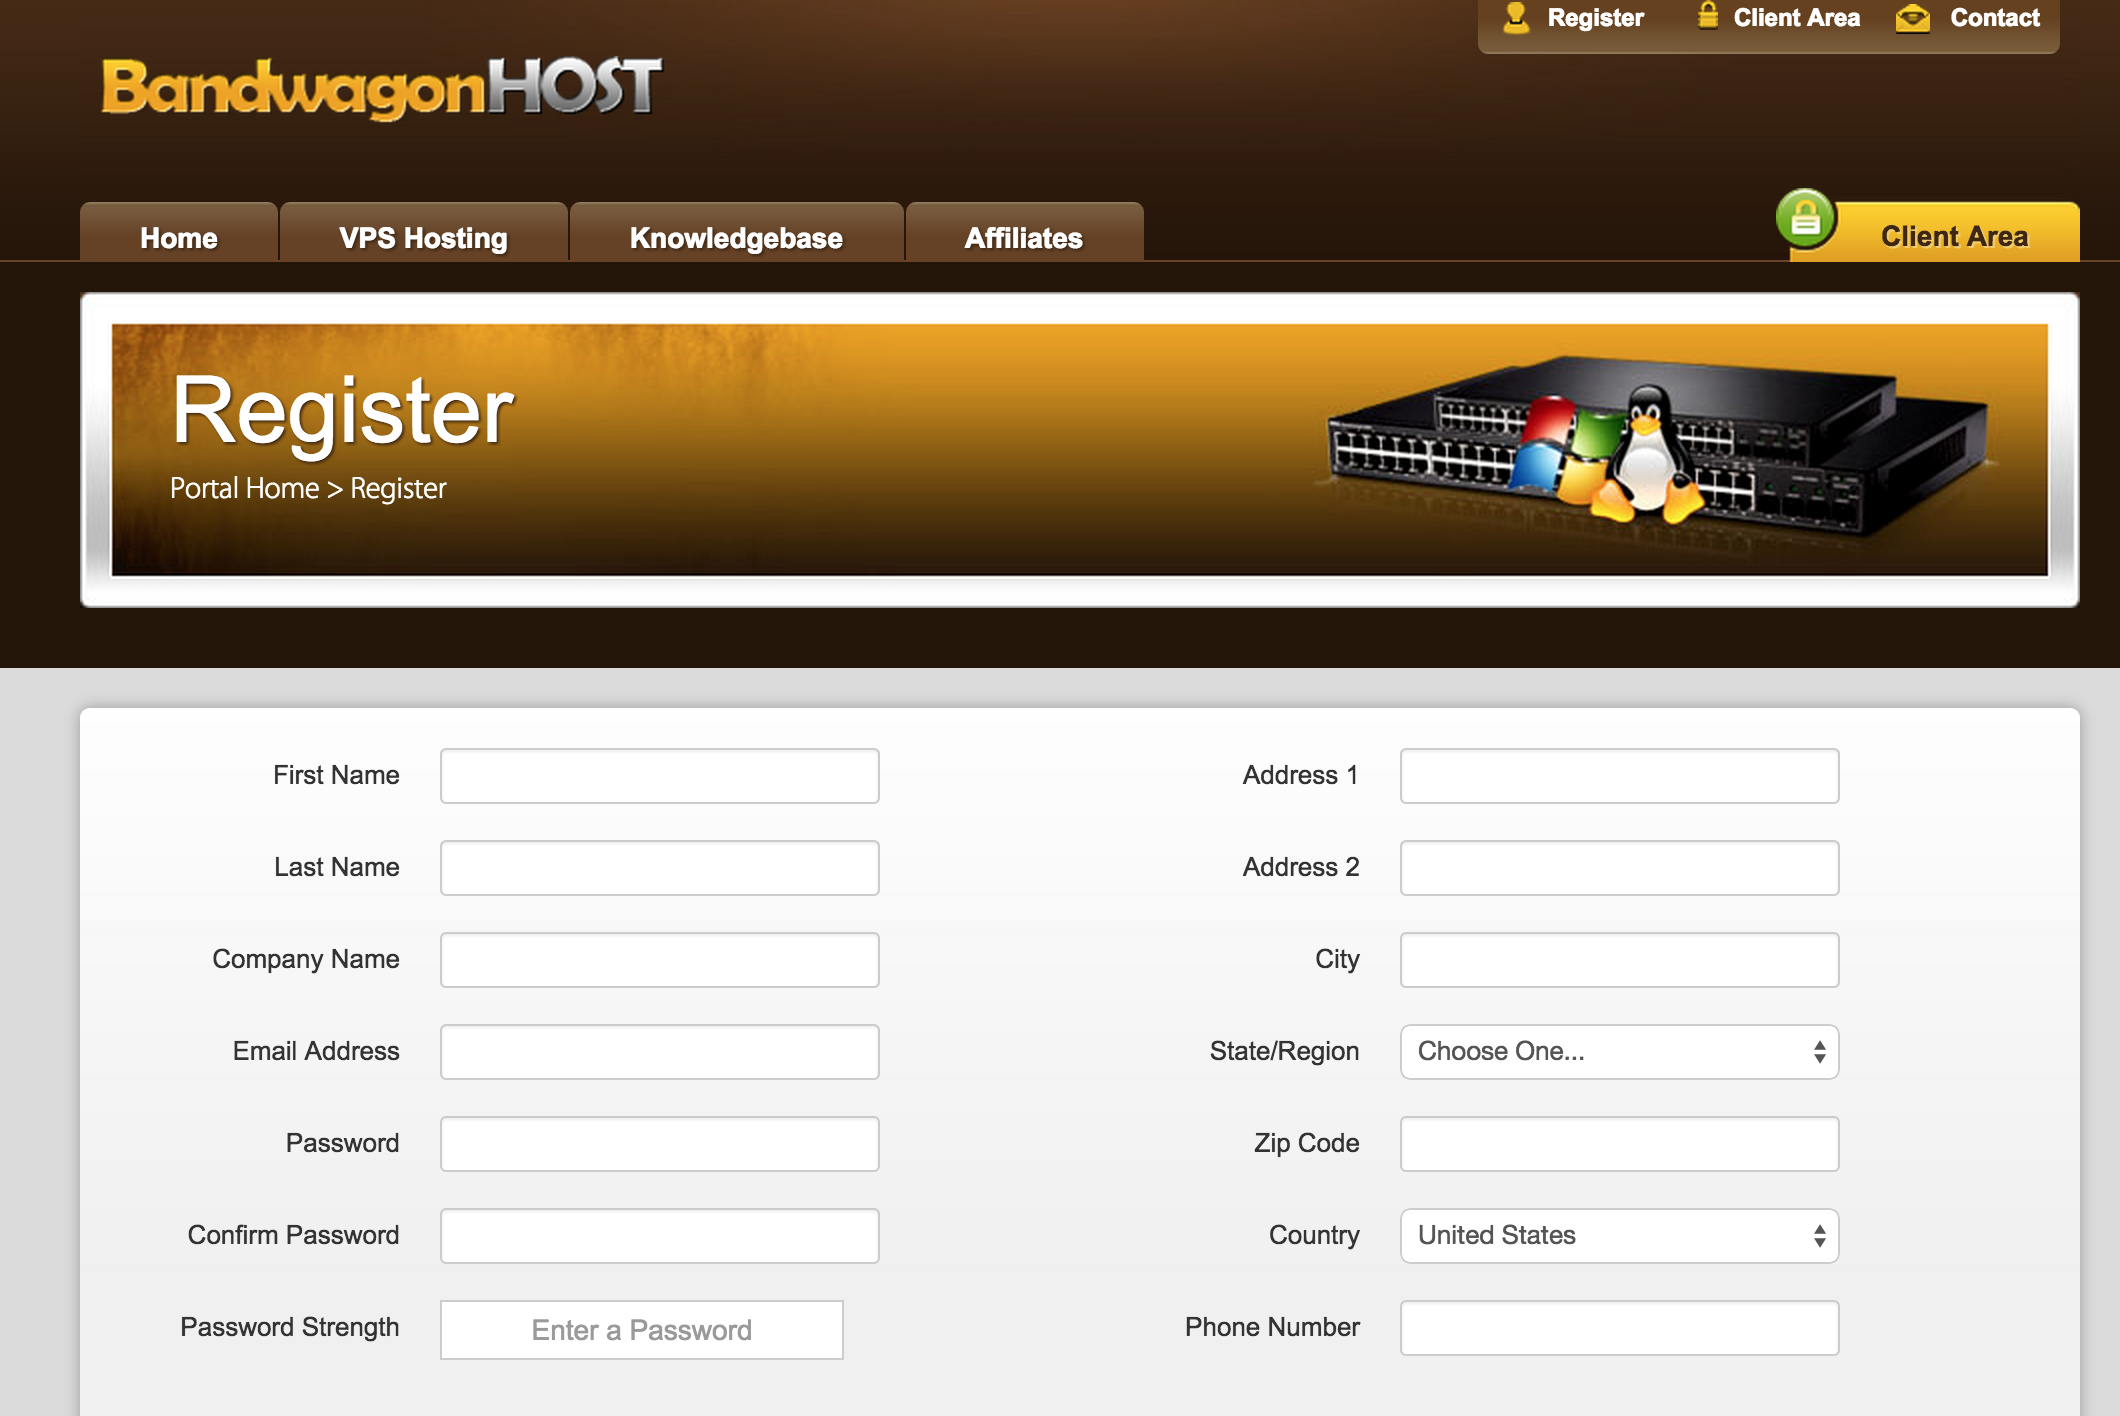
Register an account
Click the register button on the right-top side of the web page and fill in the forms.
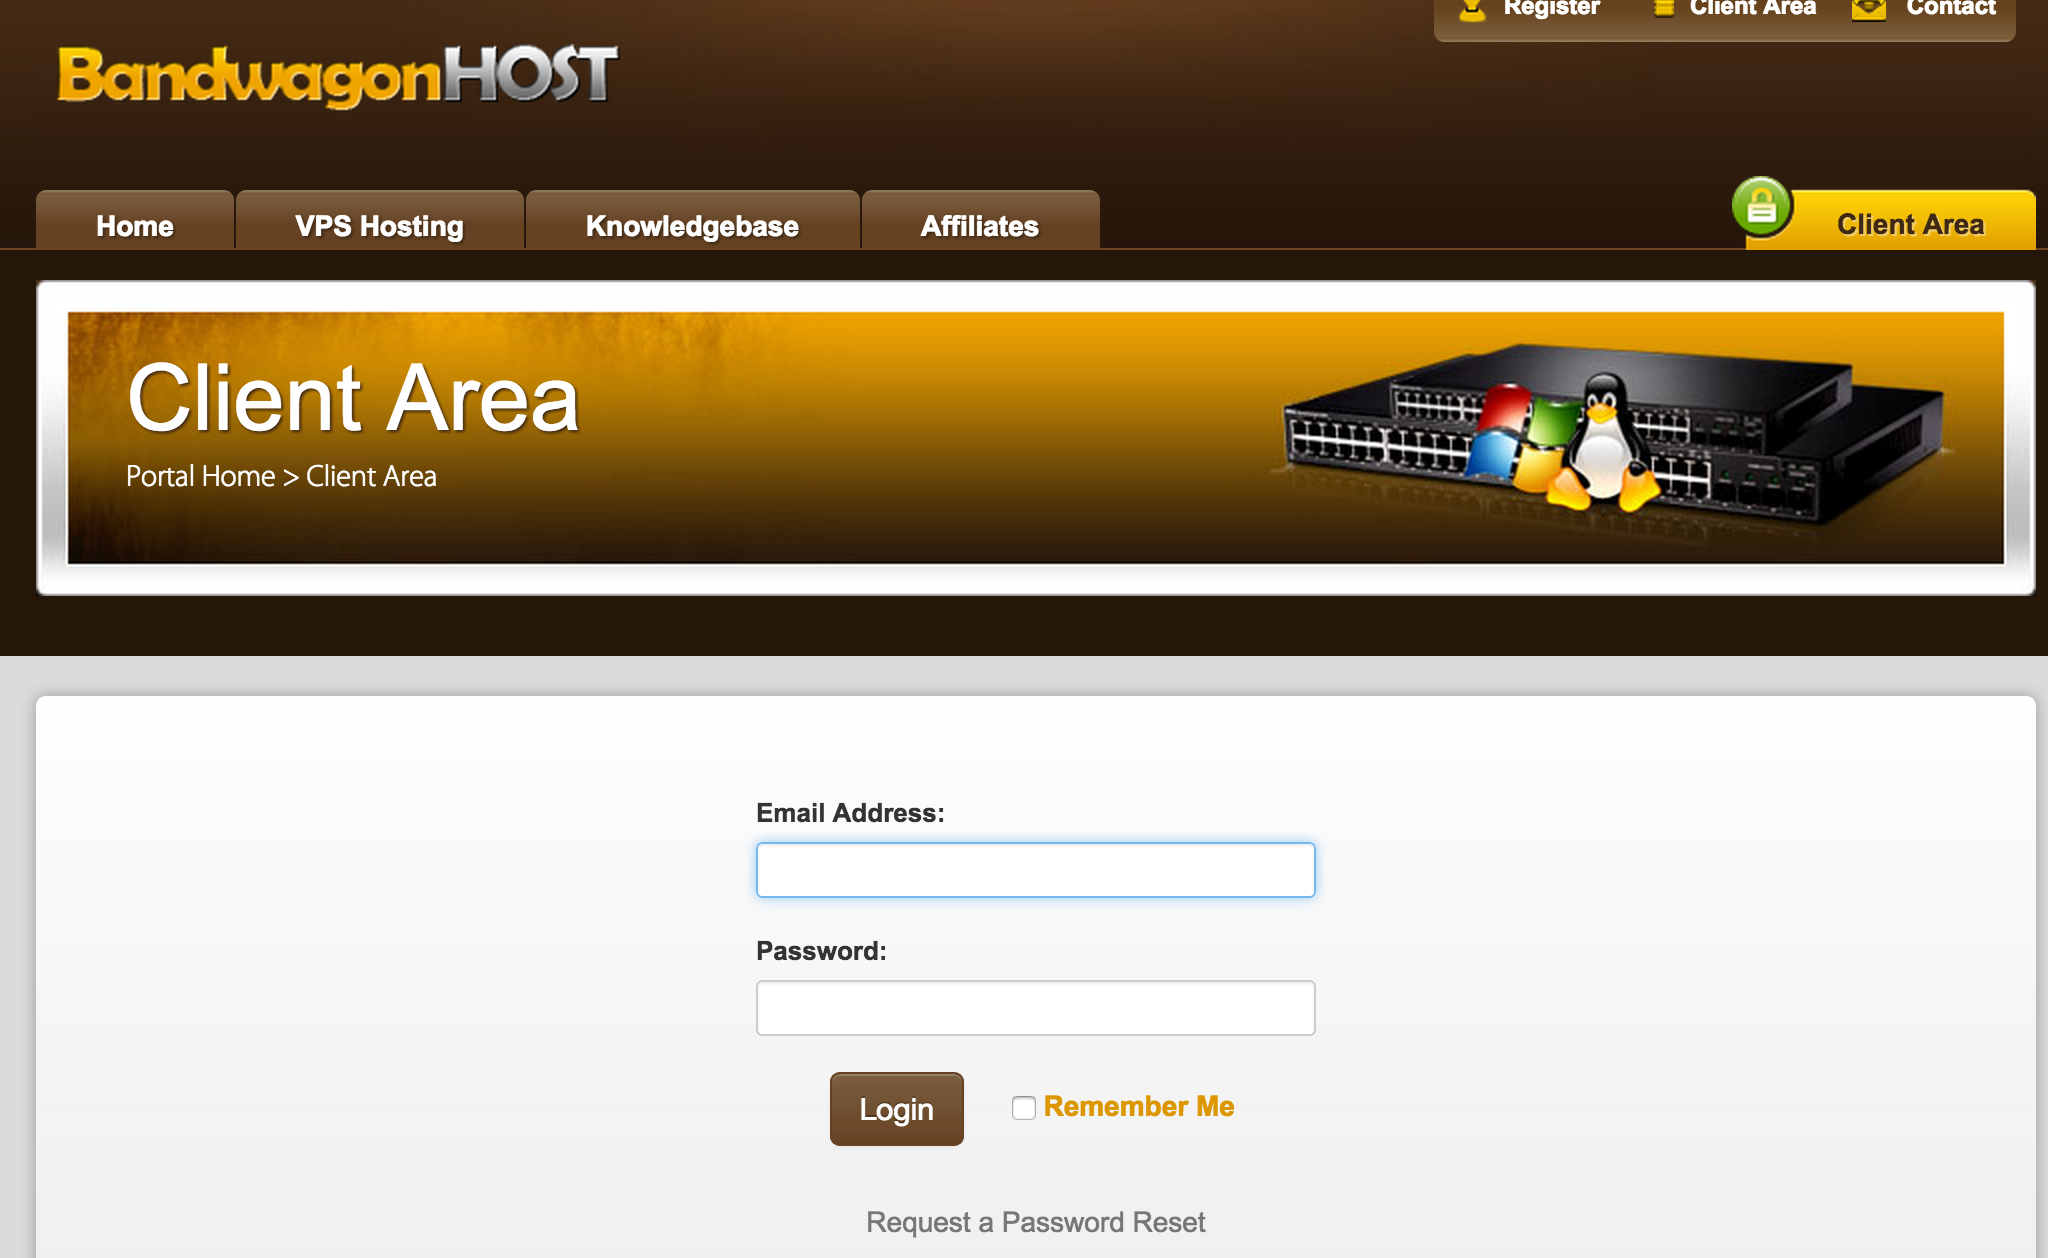
Login
Click the client area on the right side and log in with your account.
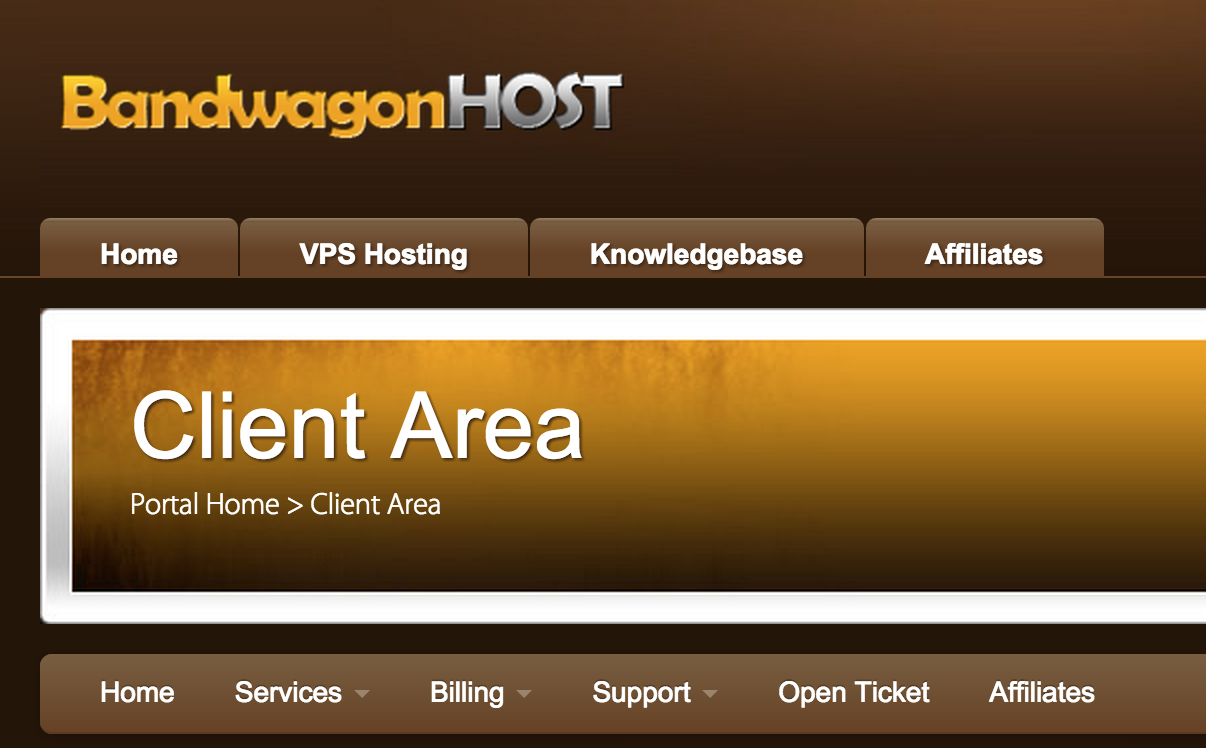
Order your services
Click the Service button on the nav bar and choose Order New Services.
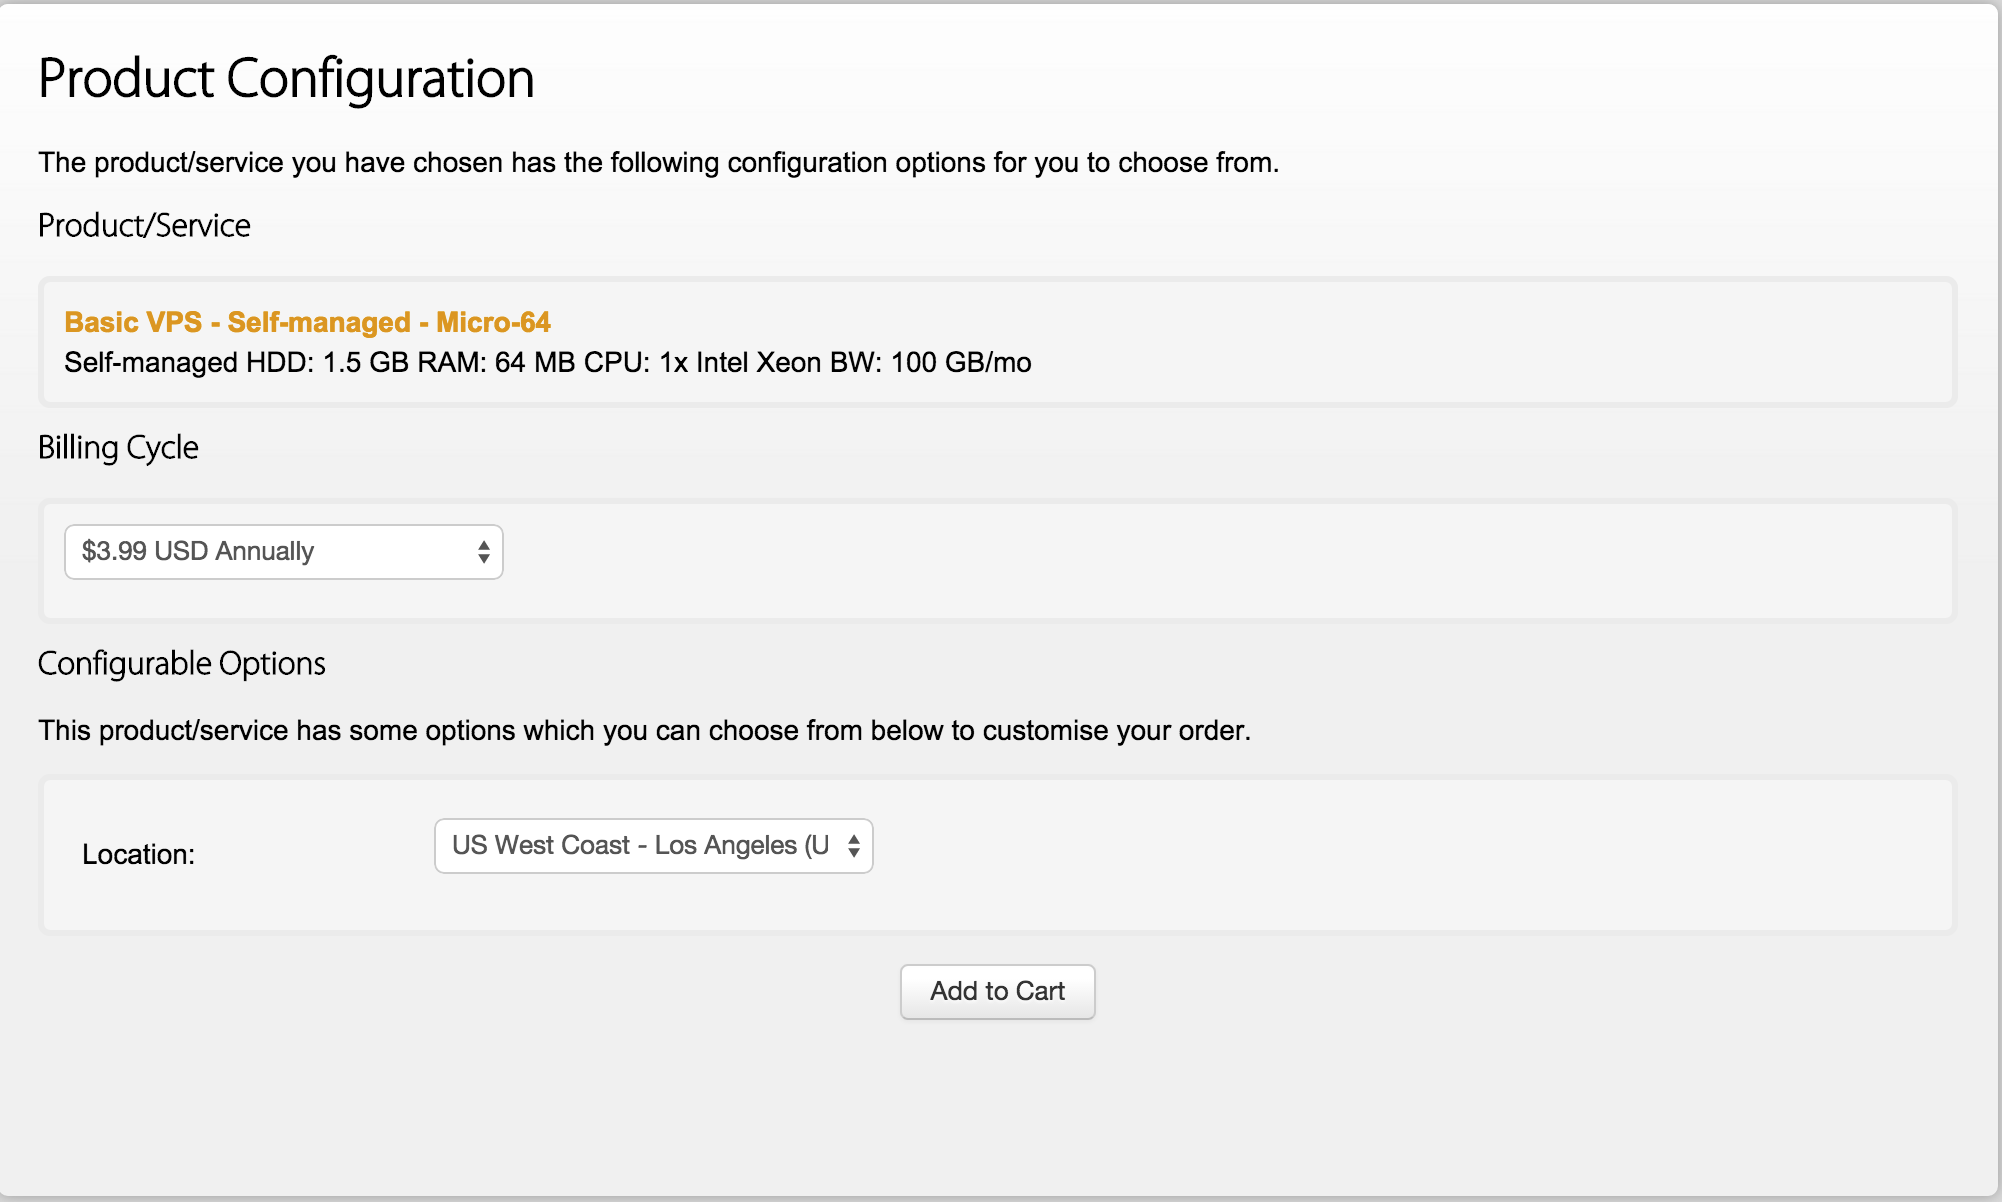
Then you will find several services with different prices. The service I ordered is as follows which is the cheapest.

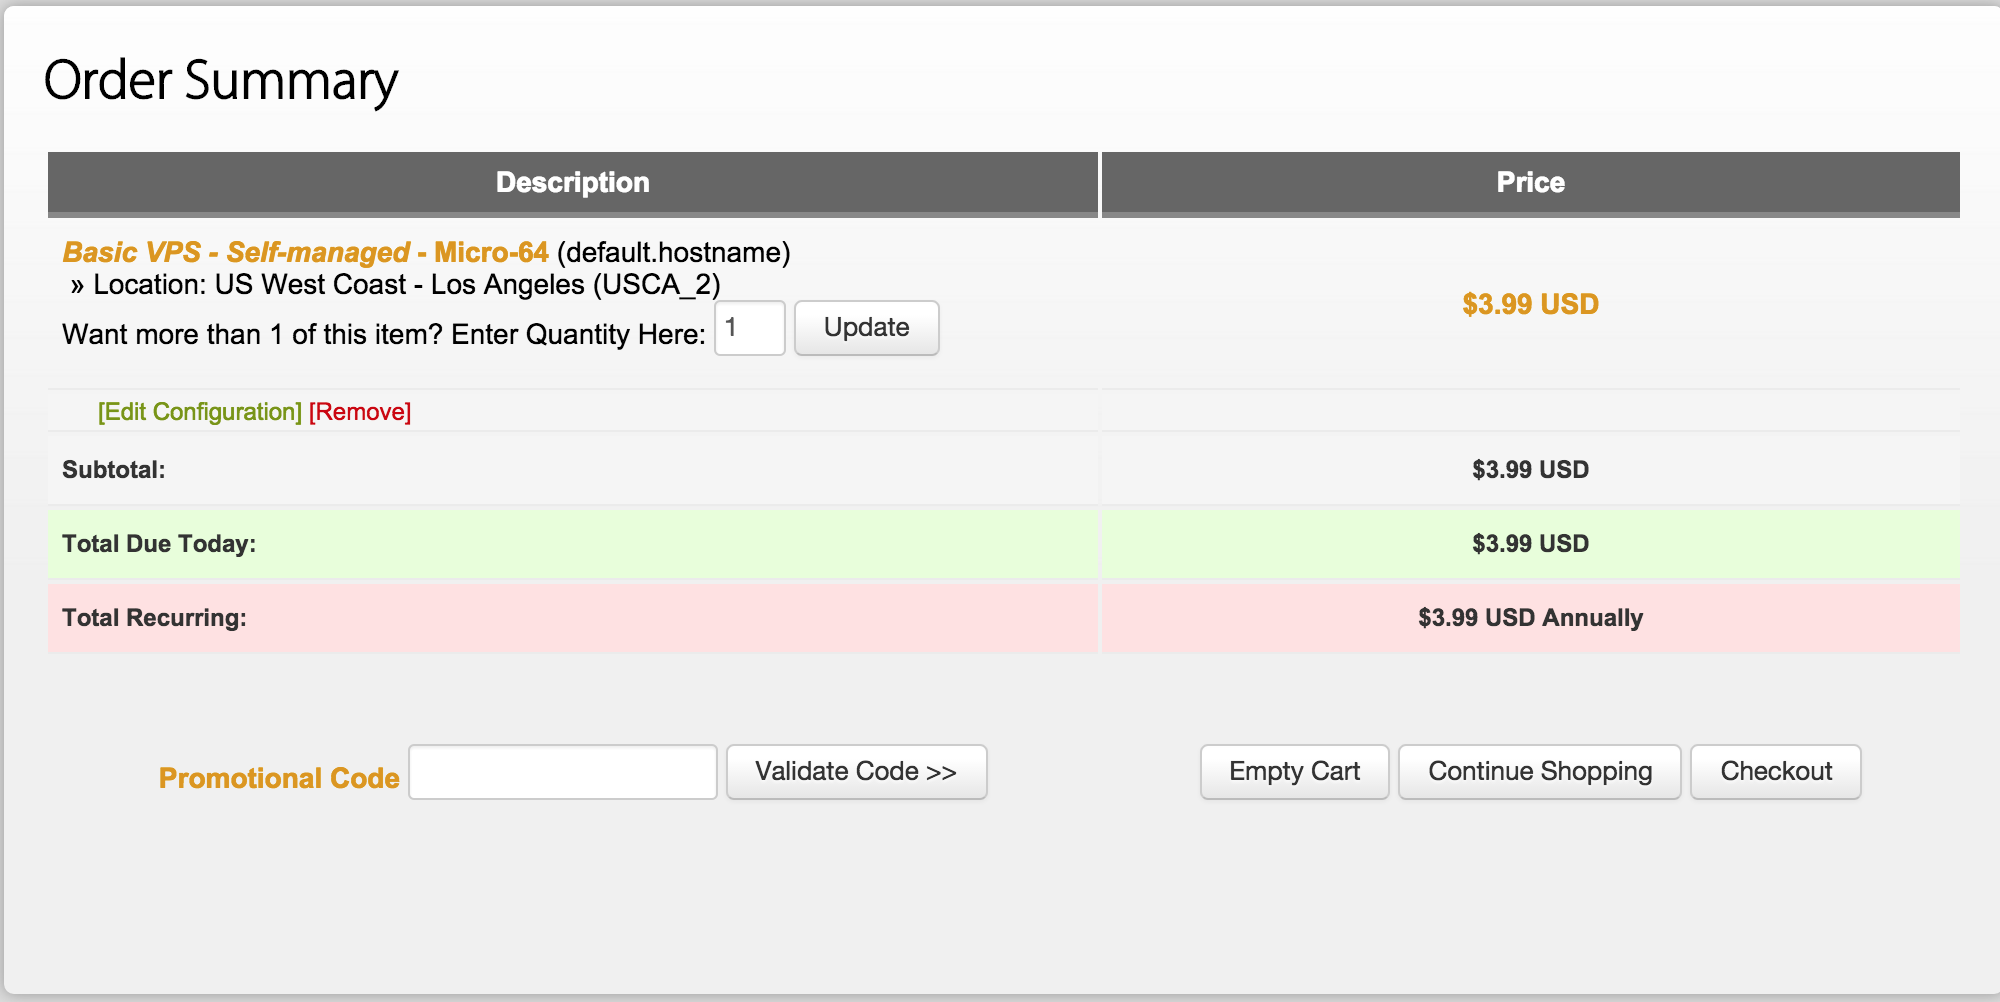
Click Order Now and you will see this page. Click Add to Cart.
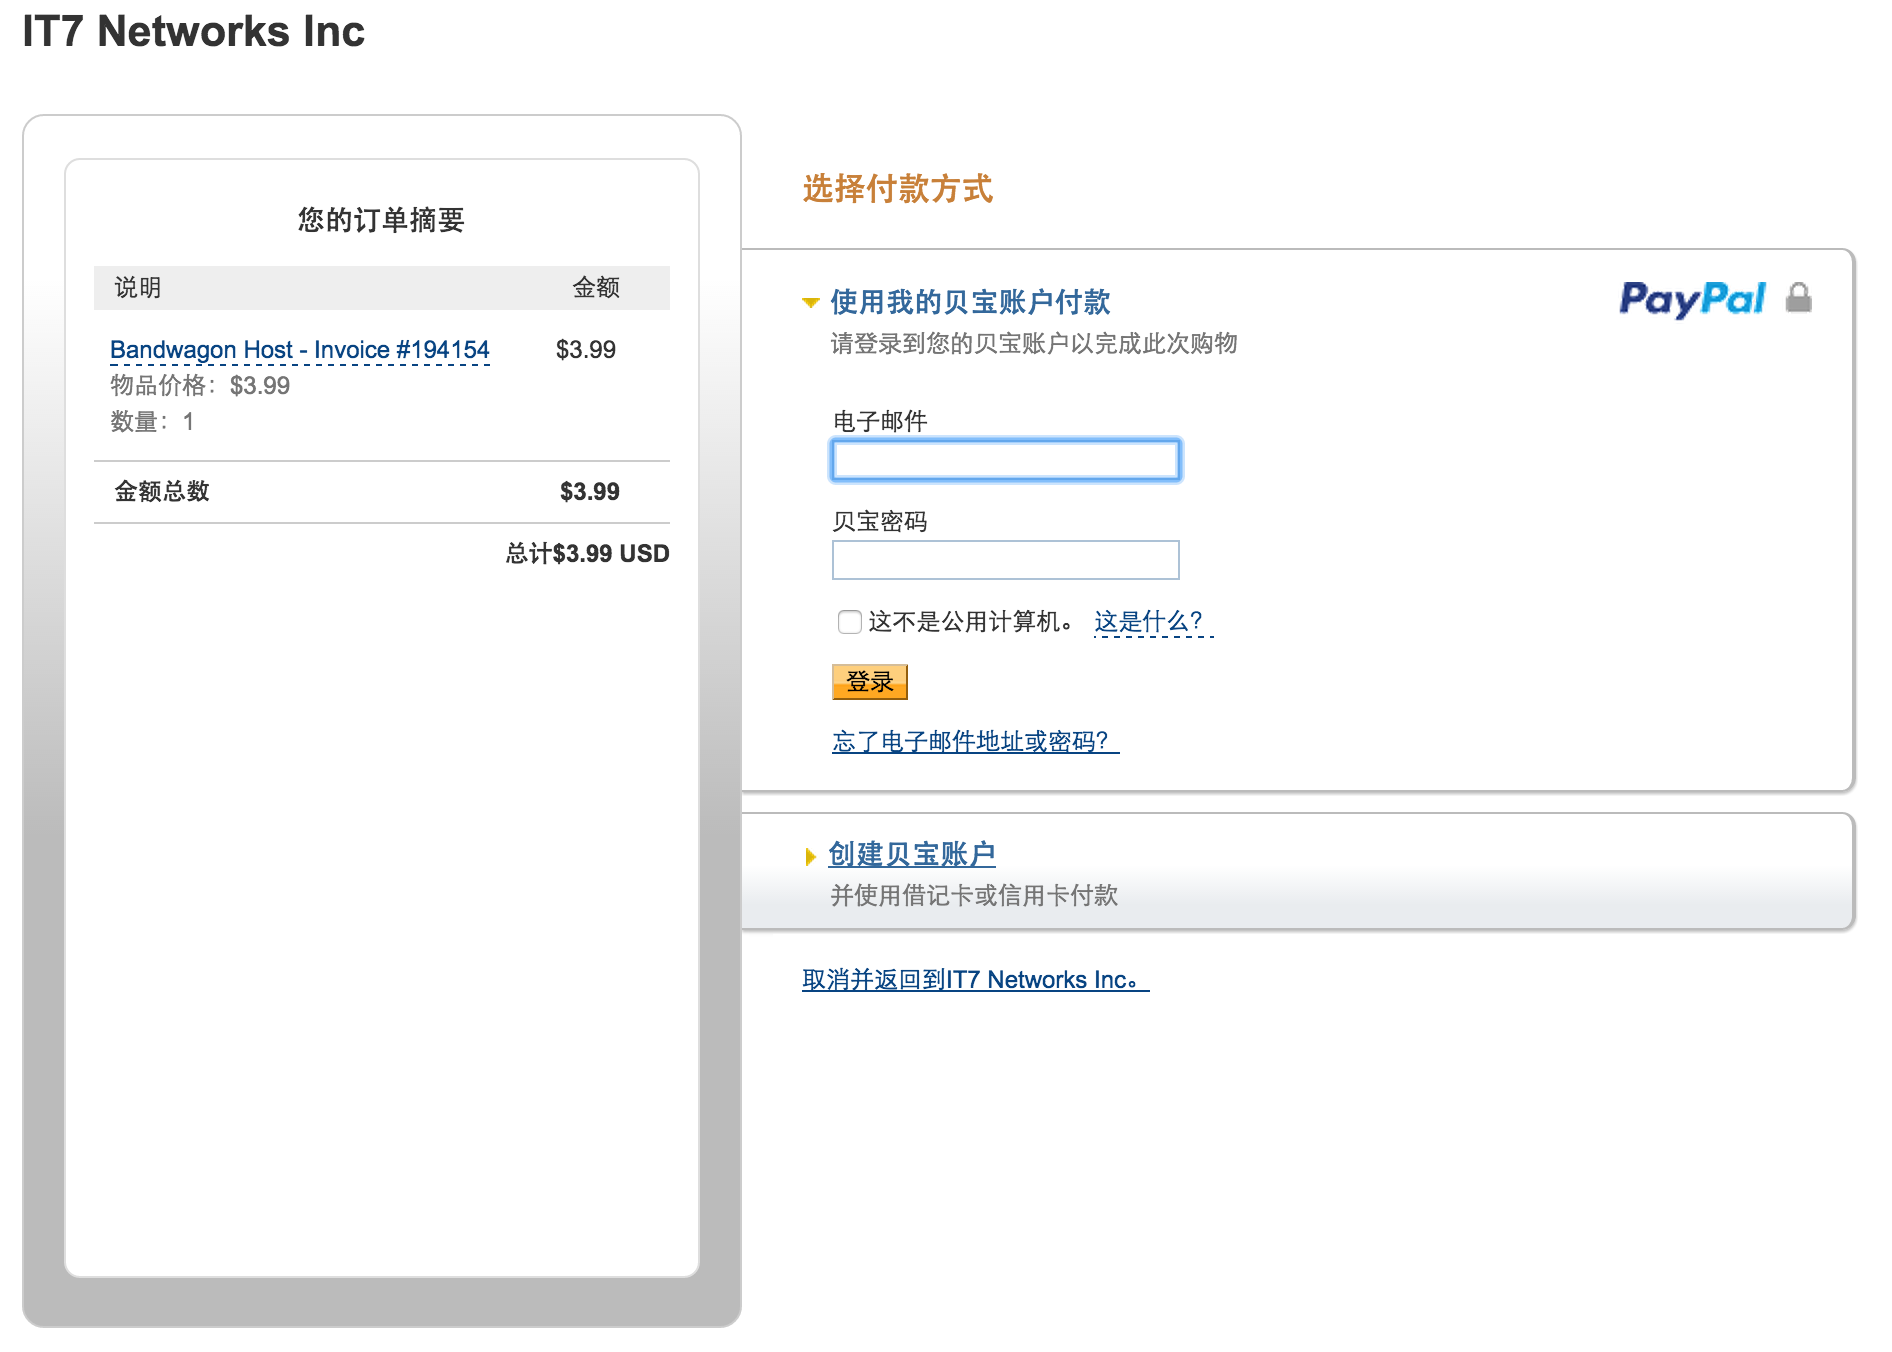
Then click Checkout and check some basic and infomation and click Complete Order. It only provide the way of Paypal to pay the money.
After that use Paypal to bound your bankcard and pay it. Then you will have your own serser outside, though its performance is just like a Raspberry or even lower. However, it doesn't matter, we just need it to play a role to run a shadowsocks server on it.
Setup shadowsocks server
After your payment, enter your account and you will see your newly-ordered services is in the panel.

Click KiwiVM Control Panel and you will see the IP address and SSH port of your server. You may not to tell it other only if you want to share your server with others. There are also many interesting function that the panel provides, have a look.
We can use the basic operating system that is defaultly installed on the server. There are several ways to make commands sent to your server. I choose to use the local ssh command line tool to log on to my server.
First you need to regenerate your root password of your operating system on the control panel.
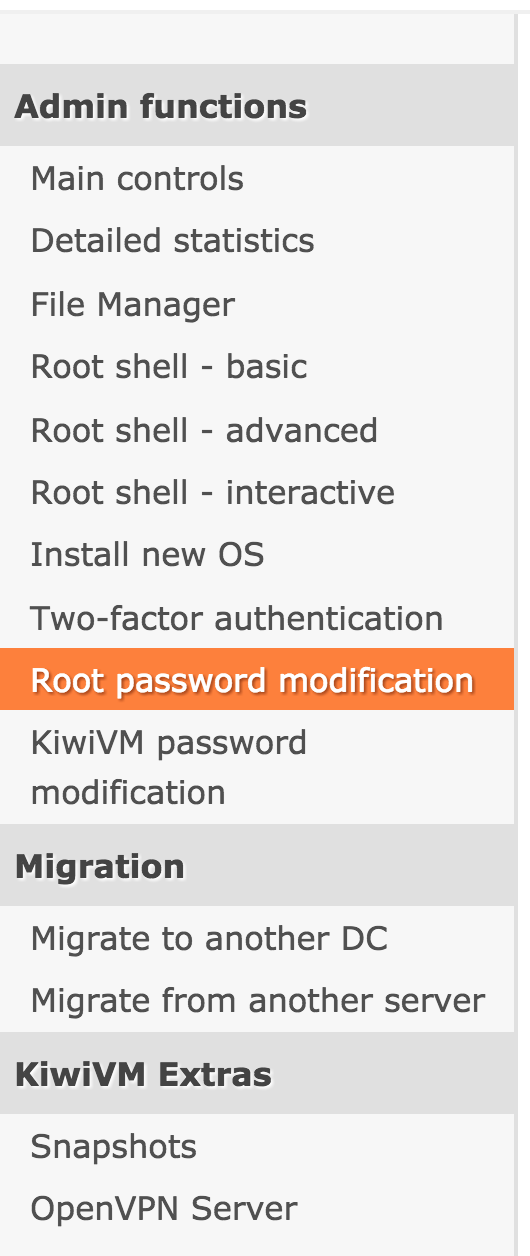
Click on Root password modification and Generate and set new root password. You will get a new password of your root account of the OS. Copy it to your clipboard and use when you make an ssh request to the remote server. The remote ssh command is like this one.
ssh root@<your_remote_IP> -p <your_remote_port>
Then according to the prompt, enter your password and wait. After a few seconds, if your info is correct, you will log on to your server. (SSH is a protocol and in every operating system, there are their own ways to install and use SSH, like Putty on Windows)
After you log on, the picture will be like this:

Now you have your control over the remote server that belongs to you now. And this server is used as a shadowsocks server.
Enter these commands to install it if your use the default Debian system.
apt-get install python-pip
This is used to install pip and it gives you a convenient way to install shadowsocks server in the command line environment.
After the installation is over, then type
After shadowsocks server is installed, you could try to run it with this command.
ssserver -p 8000 -k <password> -m rc4-md5
This command means you will use port 8000 as the shadowsocks port, password as your password to connect to this shadowsocks server and rc4-md5 as the encryption method.
You could also use this way to make it run in background which makes you can do other things with this remote access.
ssserver -p 8000 -k <password> -m rc4-md5 -d start
ssserver -p 8000 -k <password> -m rc4-md5 -d stop
Also, there are still other ways to start your shadowsocks server, like making a configuration file.
So far, we have finished all the things that should be done remotely on the server, which is also the most difficult one. Now, let's turn to the client and after finish this, you could say hi to your friends on the facebook freely.
Step2 Connect to your server
For different OS, the client is different. This blog is helpful for you to choose different client. And I am going to show you how to install client on OSX.
Download GoAgentX
You can download the newest version of GoAgentX in this web page
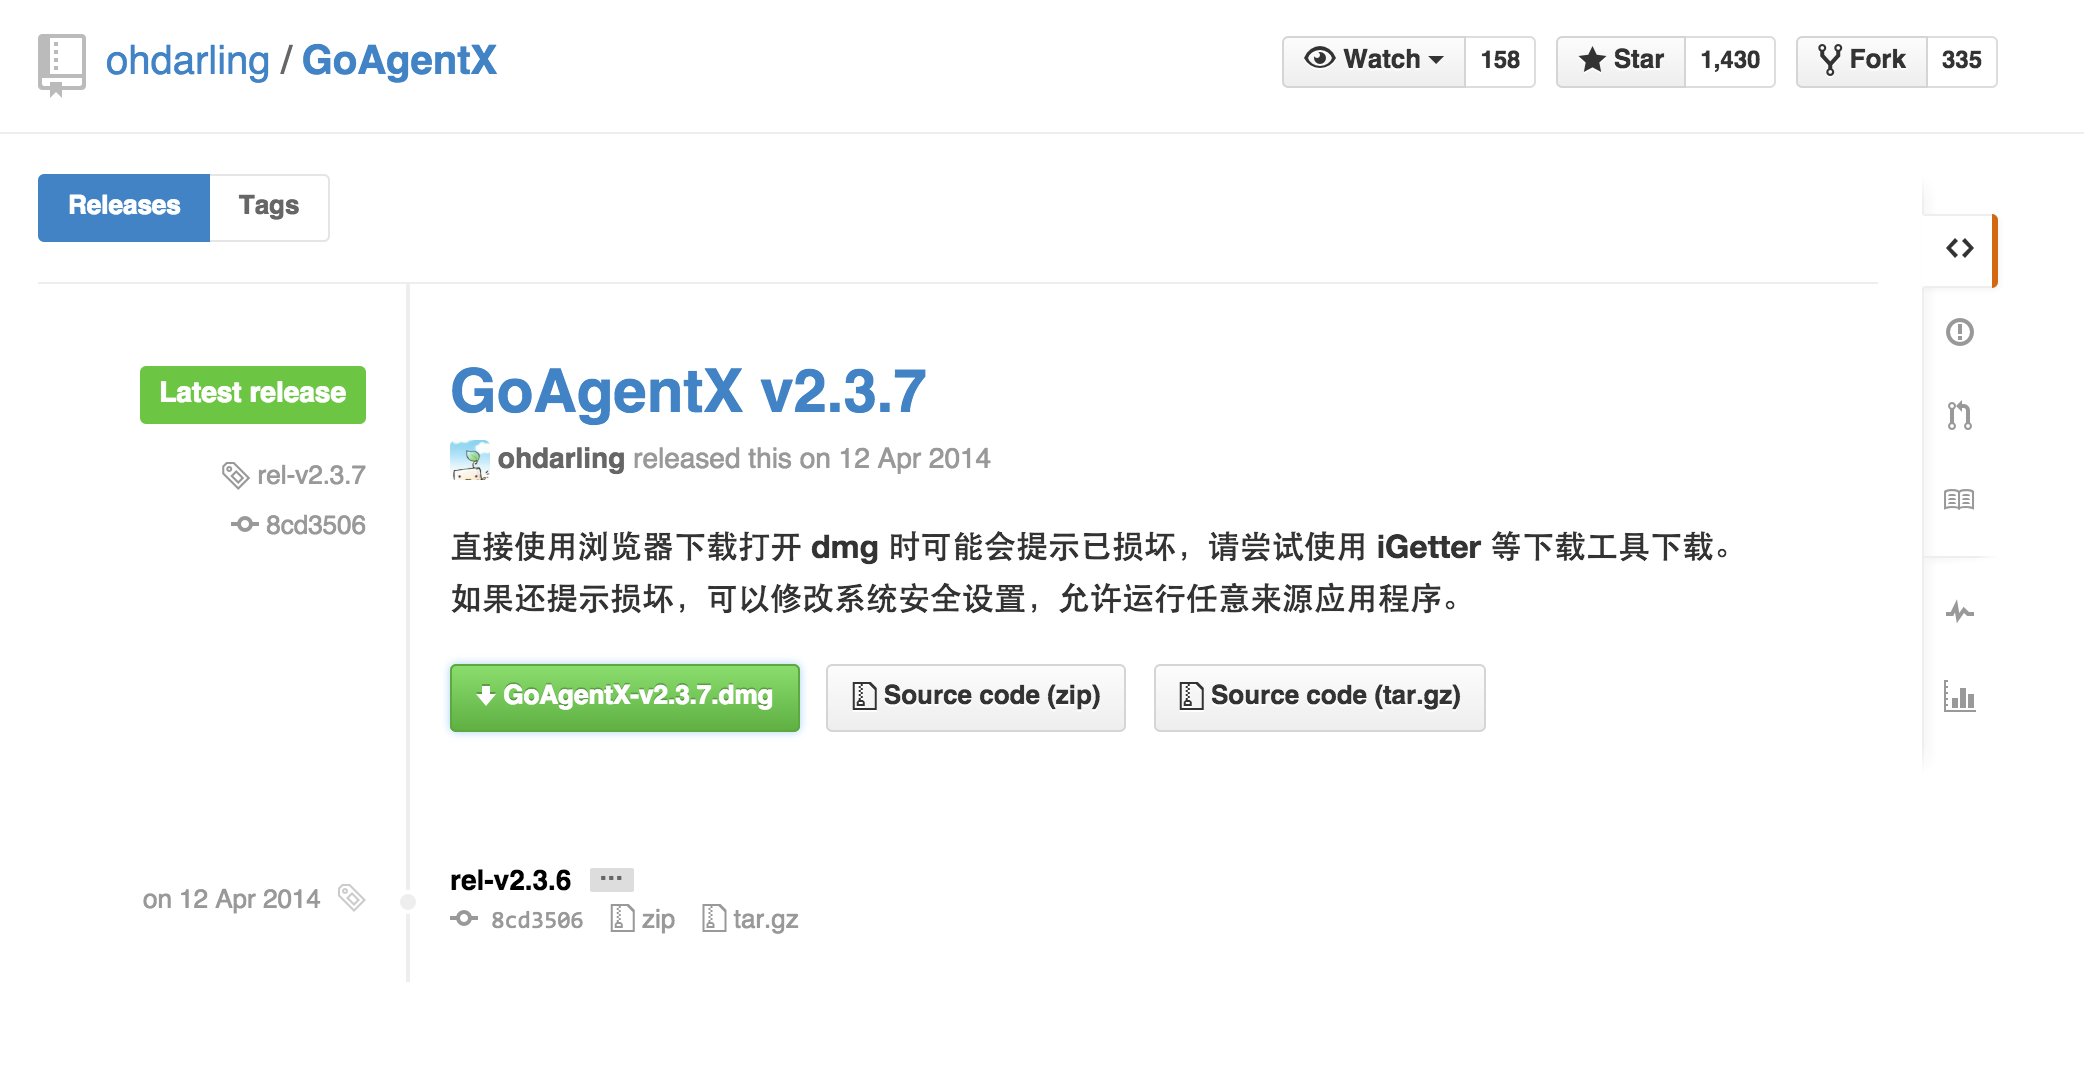
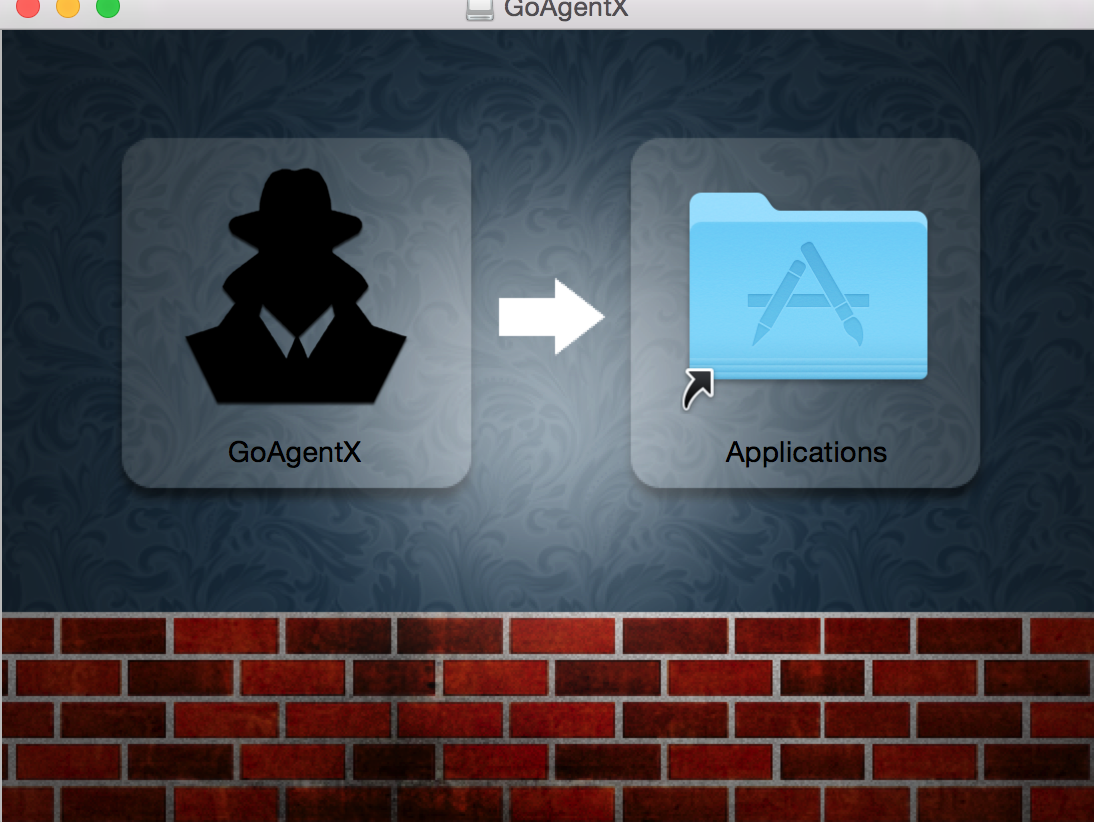
After download it, open dmg file and move the main program into the /Applicaitons directory to make it installed.
Configure settings
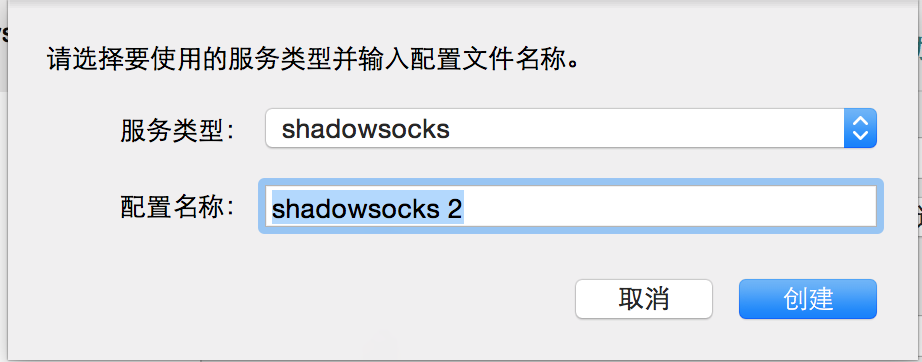
Open the GoAgentX and you will see this page. And click the + button on the left-bottom side of the window.
Choose the shadowsocks service and name it. Click Create.
Type in the required information.
- IP(the same as your ssh IP)
- port(the port that you set with your command or .json file)
- password(also set by you)
- encrypt method(also set by you)
There is no need to care about the local port, GoAgentX will select a free port automatically.
Launch services
If you have follow this tutorial step by step, and check it again, you can now click the launch button on the top-right side of the GoAgentX window. Try to surf on these page.
See what happened to your computer.
There are comments.